Here’s the second of 6 blog posts aimed at teachers of beginner flute players. This series looks at some common challenges faced by pupils and teachers and breaks them down into simple steps to make teaching technique easy even if the flute is not your first instrument, or if you teach a mixed ability group.
Teaching hand positions
Teaching a pupil how to hold the flute properly from the beginning is really important. Because holding the flute is quite unnatural it’s important we reduce tension in the fingers to a minimum by balancing the flute correctly.
Most beginner flautists will be playing on closed hole instruments and some (those with smaller arms) will be playing on curved head joints.
Whatever set up the pupil is playing on the principles are the same. There are three key balancing points when holding the flute. The first is at the bottom lip and chin, whilst the second is the lower joint of your left index finger, and the third is your right thumb.
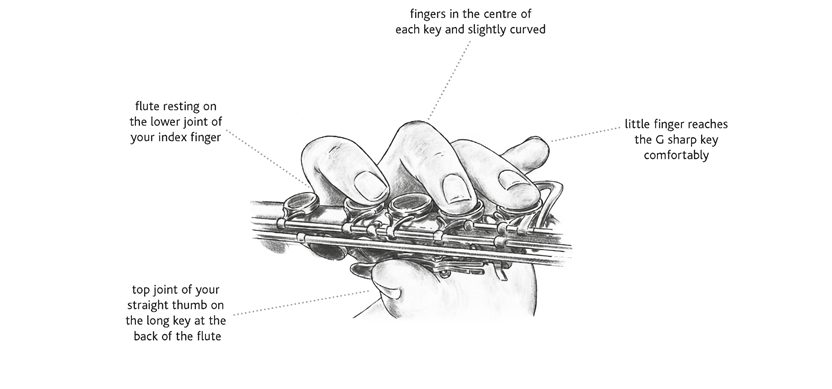
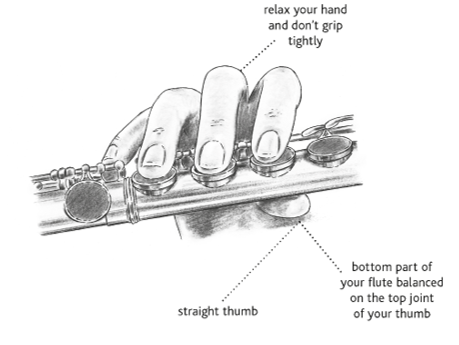
Use the diagrams below to check the placement of your students’ hands.
Left Hand
 Left hand position for flute from Abracadabra Flute Technique
Right Hand

Right hand position for flute from Abracadabra Flute Technique

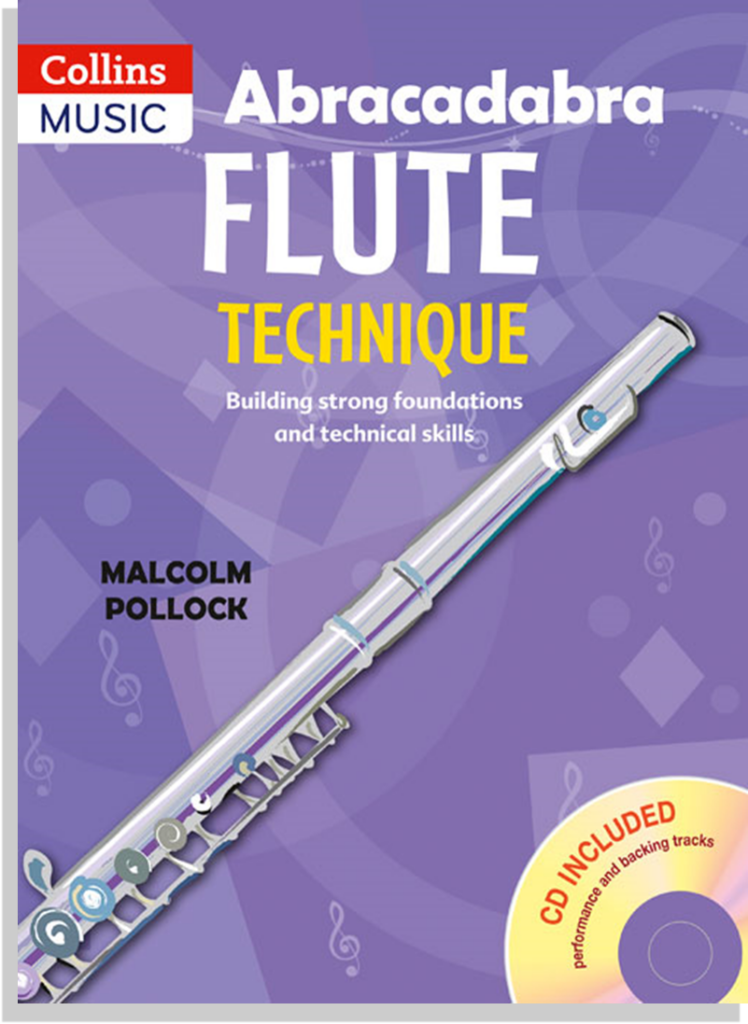
There are lots of helpful diagrams, explanations and exercises covering all basic aspects of flute technique in my book: Abracadabra Flute Technique. This is specially designed to act as a companion to Abracadabra Flute but can be used alongside any tutorial method.
Malcolm Pollock has spent a lifetime supporting young musicians through local authority music services, as a teacher, conductor and manager. His last post was the Head of Gloucestershire Music. He was the Chair of the British Flute Society from 2015-2018, and is the author of Abracadabra Flute and Abracadabra Flute Technique.